
Get Support
-
By: a5tint
- 0 Comments
Window tinting offers numerous benefits—UV protection, privacy, glare reduction, and enhanced aesthetics. However, over time, window films may peel, bubble, fade, or become damaged. When this happens, you need to know how to remove old or damaged window tint safely. Doing it the wrong way can scratch your windows, leave adhesive residue, or even cause damage to defroster lines.
In this guide, we’ll walk you through safe DIY removal methods, highlight the risks of improper tint removal, and explain when it’s best to rely on professional tint removal services like A5Tint.
Why Window Tint Gets Damaged Over Time
Window tint doesn’t last forever. Depending on the quality of the film and installation, most tints last between 5–10 years. Common signs of aging or damage include:
Bubbling film – often caused by heat and adhesive breakdown.
Fading or purple tint – low-quality dye films lose color over time.
Peeling edges – adhesive weakens, especially with sun exposure.
Scratches and damage – accidents, cleaning errors, or poor maintenance.
When these issues occur, removing the old tint becomes necessary before applying a fresh one.
DIY Methods: How to Remove Window Tint at Home
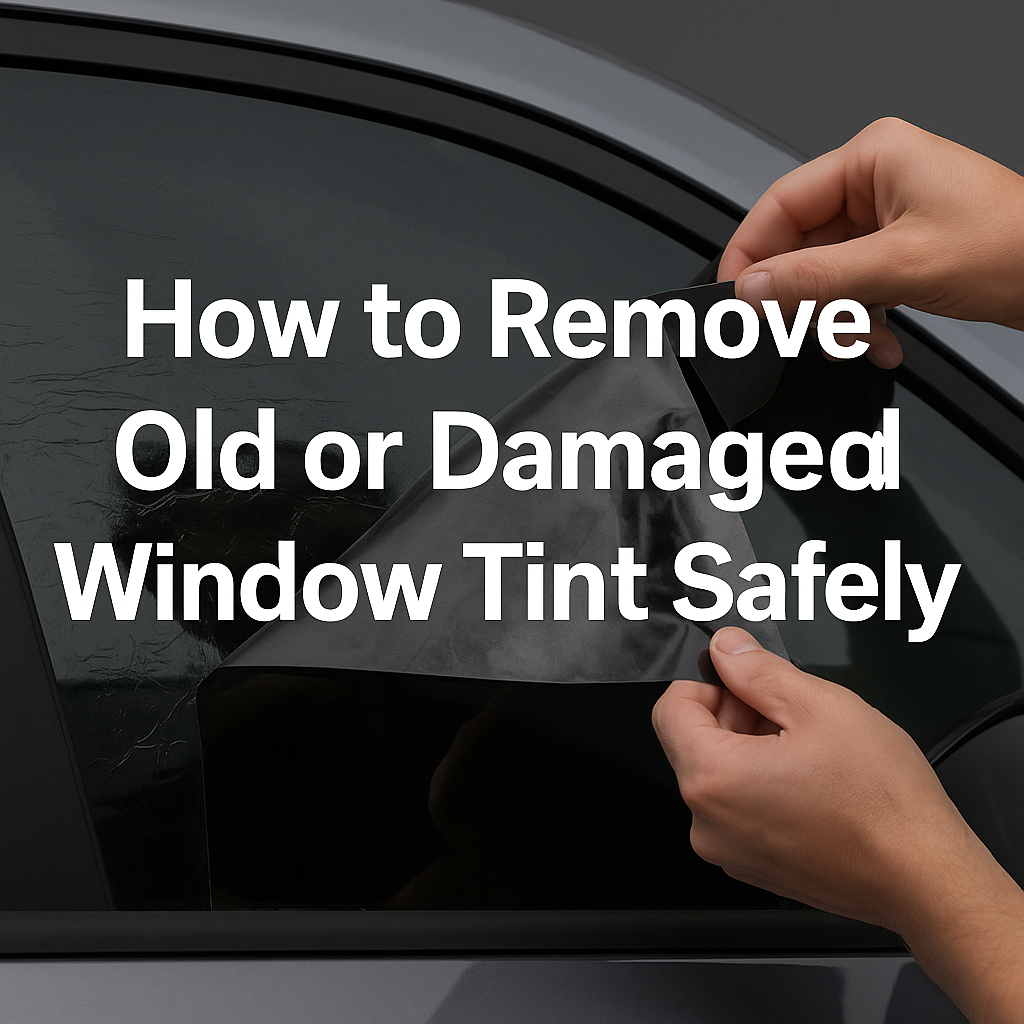
If you’re attempting removal yourself, here are some safe techniques:
1. Heat and Peel Method
Use a heat gun or hairdryer to soften the adhesive.
Start at the corner of the film and peel slowly.
Apply heat consistently to avoid tearing.
2. Steam Removal
A garment steamer is an effective tool.
Steam softens the film and adhesive.
Peeling is smoother and leaves less residue.
3. Soap and Water with Ammonia
Spray a mixture of soapy water or ammonia solution under the film.
Cover with a plastic bag and let it soak in the sun.
Peel gently after 30–60 minutes.
⚠️ Important: Always wear gloves and ensure good ventilation when working with ammonia-based solutions.
Cleaning Off Adhesive Residue
Even after peeling the film, sticky residue often remains. To remove it safely:
Use a plastic scraper (never metal, which can scratch glass).
Apply adhesive remover or rubbing alcohol.
Wipe clean with a microfiber cloth.
Risks of Improper Tint Removal
Trying to remove tint without the right tools or technique can cause:
Scratched windows
Damaged defroster lines
Sticky residue that’s difficult to clean
Uneven peeling leading to repeated attempts
This is why many drivers turn to professional tint removal services.
Why Choose Professional Tint Removal at A5Tint
At A5Tint we use specialized tools and techniques to remove damaged tint safely. Our professionals ensure:
No damage to your glass or defroster lines.
Complete adhesive removal.
Proper preparation for new tint installation.
If you’re planning to replace your tint, it’s always best to have experts handle the removal process.
Helpful Government Resources
When dealing with car window tinting, it’s important to be aware of legal tint limits. Here are trusted resources:
Transport Canada – Window Tint Regulations
U.S. National Highway Traffic Safety Administration (NHTSA)
Government of Ontario – Vehicle Safety Standards
Government of British Columbia – Vehicle Regulations
Another important aspect of removing old or damaged window tint is understanding the long-term benefits of doing it correctly. When tint is left to bubble, peel, or discolor, it not only affects your car’s appearance but can also reduce visibility and compromise safety. Proper removal ensures that the glass remains intact without scratches or residue, creating a clean surface for a new, high-quality tint. By taking the time to safely remove damaged film, you extend the life of your car windows, enhance comfort, and maintain compliance with local tinting regulations.
Conclusion
Knowing how to remove old or damaged window tint safely is essential to protect your vehicle’s glass and prepare it for a fresh installation. While DIY methods work for some, they require patience and care. For a hassle-free and damage-free experience, professional tint removal from A5Tint is always the safest choice.